“Unlock the Secret to Growing Mint Anywhere with the Plastic Cup Method!”
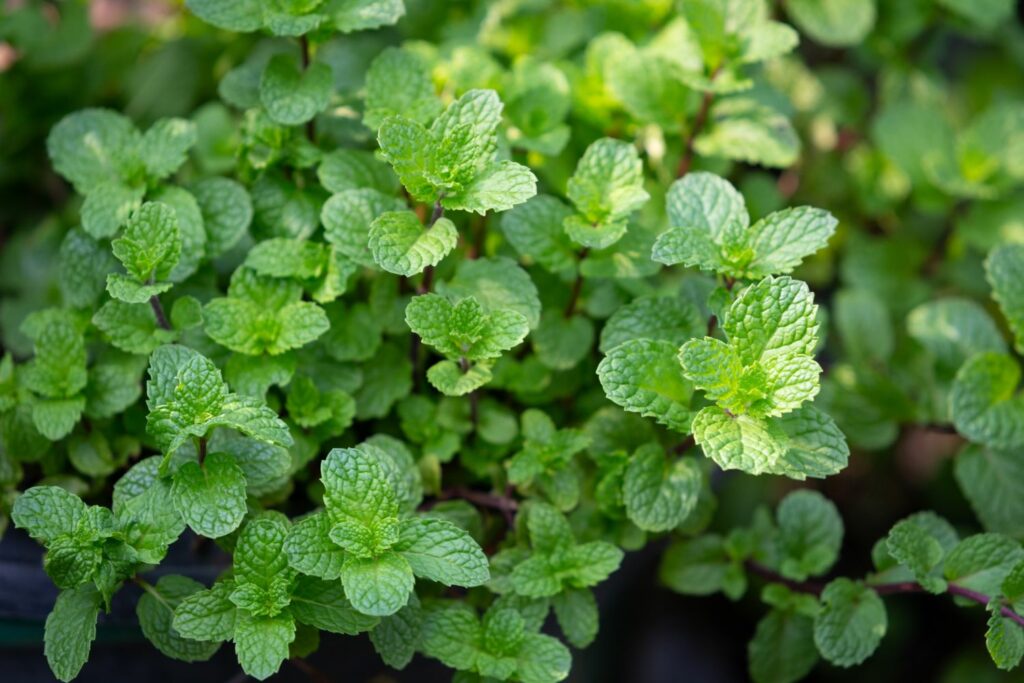
Mint, with its aromatic allure and culinary versatility, is a must-have herb for any gardening enthusiast. But what if you’re short on space or simply looking for a creative way to cultivate this herb? Say hello to the plastic cup method – an innovative and budget-friendly approach to growing mint that ensures your herbs thrive with the right nutrients.
In this comprehensive guide, we’ll walk you through the step-by-step process of using the plastic cup method to grow mint, allowing you to savor its vibrant flavors and invigorating fragrance, no matter how limited your space may be.
Here’s what you’ll need to get started:
- A plastic cup (standard disposable size works fine)
- A pot or container with drainage holes
- Quality potting soil
- Mint seedlings or cuttings
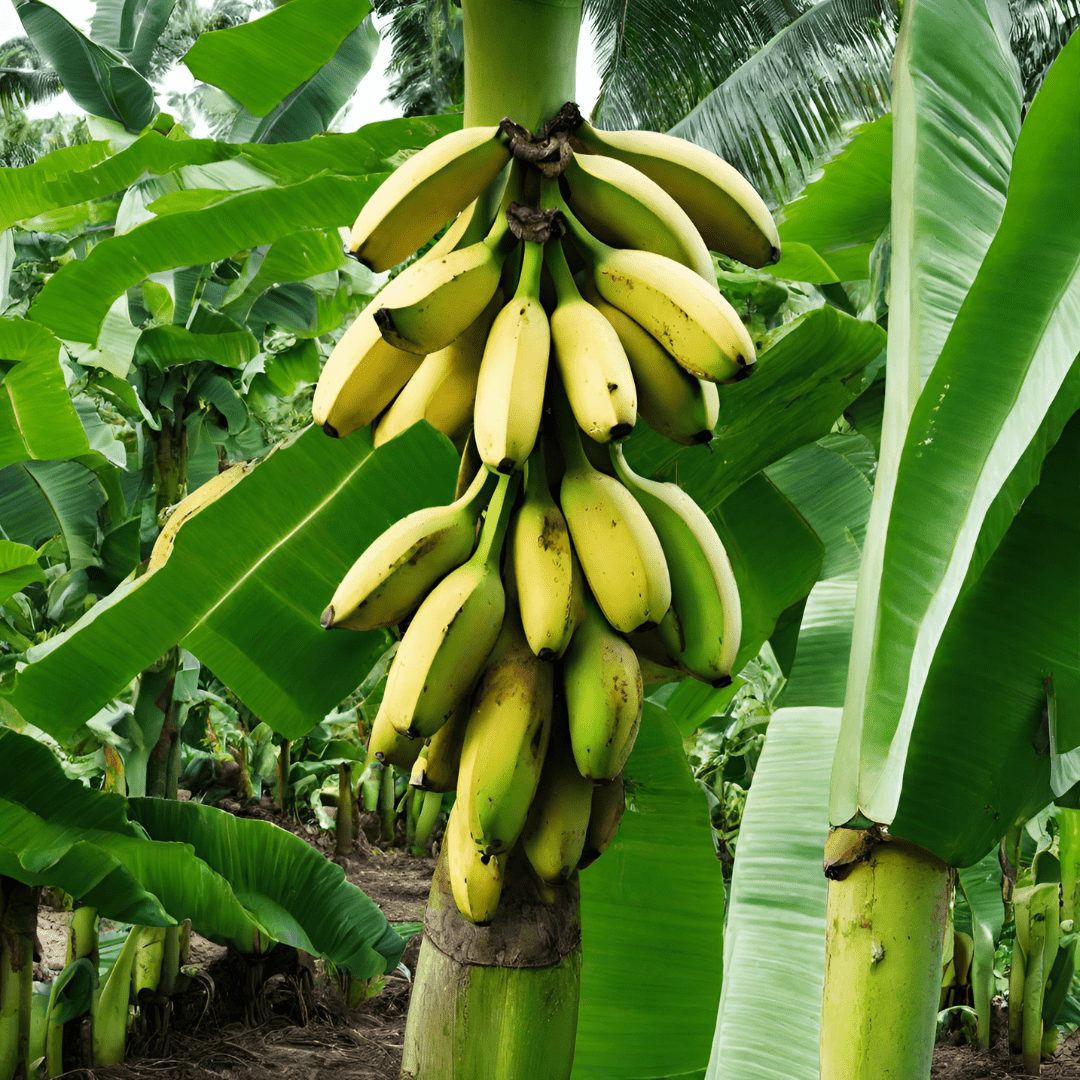
- Fertilizer (made from crushed garlic and banana peels)
- Water
Let’s dive into the details:
Prepare the Pot and Plastic Cup: Choose a pot with proper drainage to prevent waterlogging. Mint appreciates room to spread its roots, so opt for a container that’s at least 12 inches deep and wide. Fill the pot with potting soil, leaving a small gap from the rim. Next, perforate the plastic cup with holes on the sides and bottom to facilitate gradual water and nutrient release into the soil, promoting healthy growth.
Settle the Cup: Position the plastic cup at the center of the pot, ensuring the rim sits level with the soil surface. This arrangement allows easy access for watering and fertilizing, forming an ‘o’ within an ‘O’ when viewed from above.
Add Fertilizer: Combine crushed garlic and dried banana peels to create a nutrient-rich fertilizer. Fill the plastic cup with this mixture, providing essential nutrients for your mint as it grows, enhancing its flavor and vigor.
Plant the Mint: Whether you’re using seedlings or cuttings, gently place them into the potting soil next to the plastic cup. Space multiple plants a few inches apart to accommodate their growth. Pat the soil around the mint to secure it in place.
Care for the Mint: Water your mint by pouring directly into the plastic cup. As the water seeps through the holes, it carries nutrients from the fertilizer, nourishing the roots and promoting healthy development.
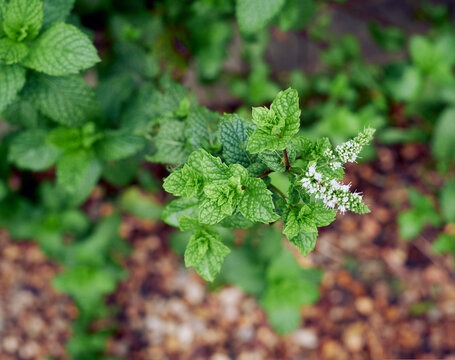
Harvesting: In about 8-10 weeks, your mint will be ready for its first harvest. Snip the leaves just above a set of healthy leaves to encourage bushier growth and ensure a bountiful supply of fresh mint for your culinary creations.
FAQs:
- Best Mint Varieties: Spearmint and peppermint are popular choices, but you can use this method for other varieties too.
- Ideal Planting Time: Start growing mint using this method in spring or early summer for optimal growth.
- Common Pests and Diseases: While mint is generally hardy, keep an eye out for aphids, spider mites, or rust, and take appropriate measures if needed.
- Storing Mint Leaves: Wash and dry mint leaves thoroughly before storing them in an airtight container or freezer bag in the refrigerator or freezer for extended freshness.
With the plastic cup method, you’ll have a thriving mint garden that’s both practical and whimsical. Soon, you’ll be enjoying the satisfaction of harvesting fresh mint leaves right from your own miniature garden oasis, perfect for adding zest to your favorite beverages, dishes, and desserts.
Share via: