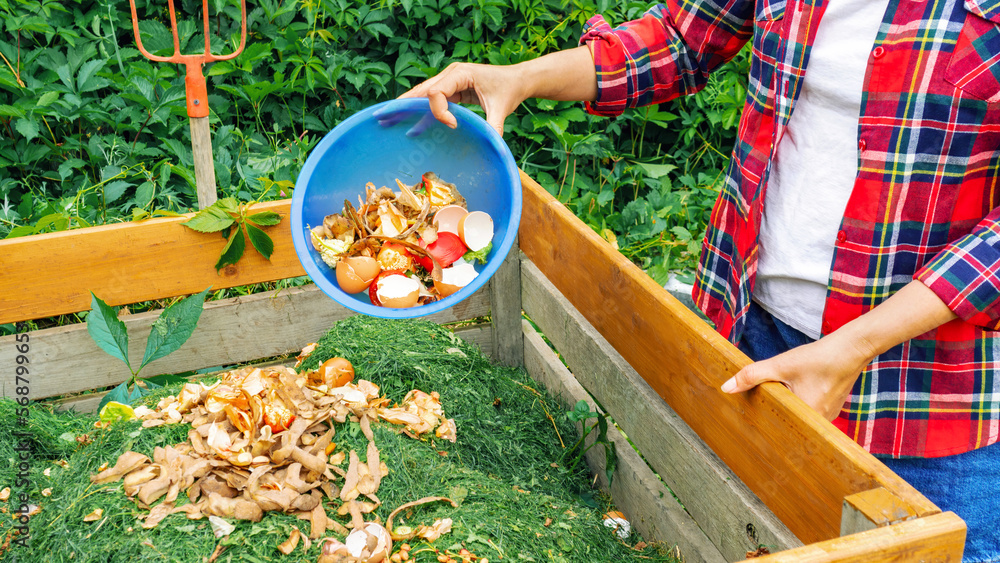
Composting is an excellent way to recycle organic waste and create nutrient-rich soil for your garden. One of the most effective ways to start composting at home is by building your own compost bin. This guide will walk you through the process of making a DIY compost bin, using simple materials and tools, to kickstart your composting journey.

Why Build a DIY Compost Bin?
- Cost-Effective: Building your own compost bin is often cheaper than purchasing a pre-made one.
- Customizable: You can design the bin to fit your specific space and needs.
- Eco-Friendly: Repurposing materials for your bin reduces waste and promotes sustainability.
- Encourages Composting: A dedicated compost bin makes it easier to manage your composting efforts.
Materials Needed
- Wooden pallets or planks (for a wooden bin)
- Plastic storage bin (for a smaller, portable bin)
- Drill and screws
- Wire mesh or hardware cloth (optional, for added aeration)
- Hinges and latch (for a bin with a lid)
- Saw (for cutting wood)
- Measuring tape and marker
Step-by-Step Guide to Making a DIY Compost Bin
Step 1: Choose Your Design
Decide on the type of compost bin that best suits your space and composting needs. Common designs include:
- Wooden Pallet Bin: Ideal for larger gardens.
- Plastic Bin: Perfect for small spaces or urban gardens.
- Wire Mesh Bin: Provides excellent aeration.
Step 2: Gather Materials
Collect all the necessary materials. Wooden pallets can often be found for free at hardware stores or construction sites, while plastic bins are readily available at most retail stores.
Step 3: Prepare the Materials
For a wooden bin:
- Cut the Wood: Measure and cut the wood to the desired dimensions. Typically, a 3-foot by 3-foot bin is sufficient for most home gardens.
- Drill Holes: Drill holes in the wooden planks for ventilation.
For a plastic bin:
- Drill Holes: Drill several small holes on the sides, bottom, and lid for aeration.
Step 4: Assemble the Bin
For a wooden bin:
- Construct the Frame: Use the screws to attach the wooden planks or pallets together, creating a square or rectangular frame.
- Add the Wire Mesh: Attach wire mesh or hardware cloth to the sides for additional ventilation (optional).
- Attach the Lid: If you prefer a covered bin, attach a wooden lid using hinges and a latch.
For a plastic bin:
- Attach the Lid: Simply place the lid on top after drilling the holes.
Step 5: Place the Bin
Choose a shady, well-drained spot in your garden for your compost bin. Ensure it’s easily accessible for adding materials and turning the compost.
Step 6: Start Composting
Begin adding green (nitrogen-rich) and brown (carbon-rich) materials to your bin. Keep the compost moist and turn it regularly to speed up the decomposition process.
Tips for Successful Composting in Your DIY Bin
- Balance Materials: Maintain a good balance of green and brown materials to ensure efficient composting.
- Monitor Moisture: Keep the compost pile moist but not waterlogged.
- Turn Regularly: Aerate the compost by turning it every few weeks to speed up decomposition.
- Avoid Odor: If your compost smells bad, add more brown materials and ensure proper aeration.
Benefits of Using a DIY Compost Bin
- Reduces Waste: Composting reduces the amount of organic waste sent to landfills.
- Improves Soil Health: Compost enriches your garden soil with essential nutrients.
- Sustainable Gardening: Composting is an eco-friendly way to maintain a healthy garden.
- Saves Money: Homemade compost reduces the need for chemical fertilizers.
Conclusion
Building a DIY compost bin is a rewarding and practical project that benefits both your garden and the environment. With this step-by-step guide, you can create a compost bin tailored to your needs and start turning kitchen scraps and yard waste into valuable compost. Happy composting!
How To make Gardening Compost easy method
Share via:
